LVL 3
- Cancel transformations of an object
- Turn the cube into an egg
Reset object transformations
After completing the previous LVL, your cube likely looks like a mess of chaotically scaled and rotated geometry. Before starting this LVL, reset the cube to its original form.
 +
+ Cancel movement+
 Cancel rotation+
 Cancel scaling
Let's make an egg
A LOT of Blender tutorials try to push multiple concepts on a newbie's plate.
Most of the people repeat the process like 🐵monkeys and never TRULY learn what they've done. It's better to take things slowly and methodically.
Basic Shape
Half of the success of a good model is baked into the selection of the basic shape: the closer it is to the final model, the better.
     ........       <-- top of the egg has the smallest area ~0.8x of the base
   .'        '.
  :            :
 /              \
:                :
:................:  <-- middle of the egg has the largest area ~4x of the base
 \              /
  '............'    <-- bottom of the egg is the base area
Now we need to replicate those same principles within the geometry of our cube.
Edit it!
The challenge right now is the difference between the number of horizontal areas in the cube and in our egg reference: the cube has only 2, while the egg has 3.
To cut a line through the middle of the cube, we need to enter Edit Mode — a space in Blender specially designed for working with geometry at different levels of detail.
 Enter "Edit Mode" for the selected object
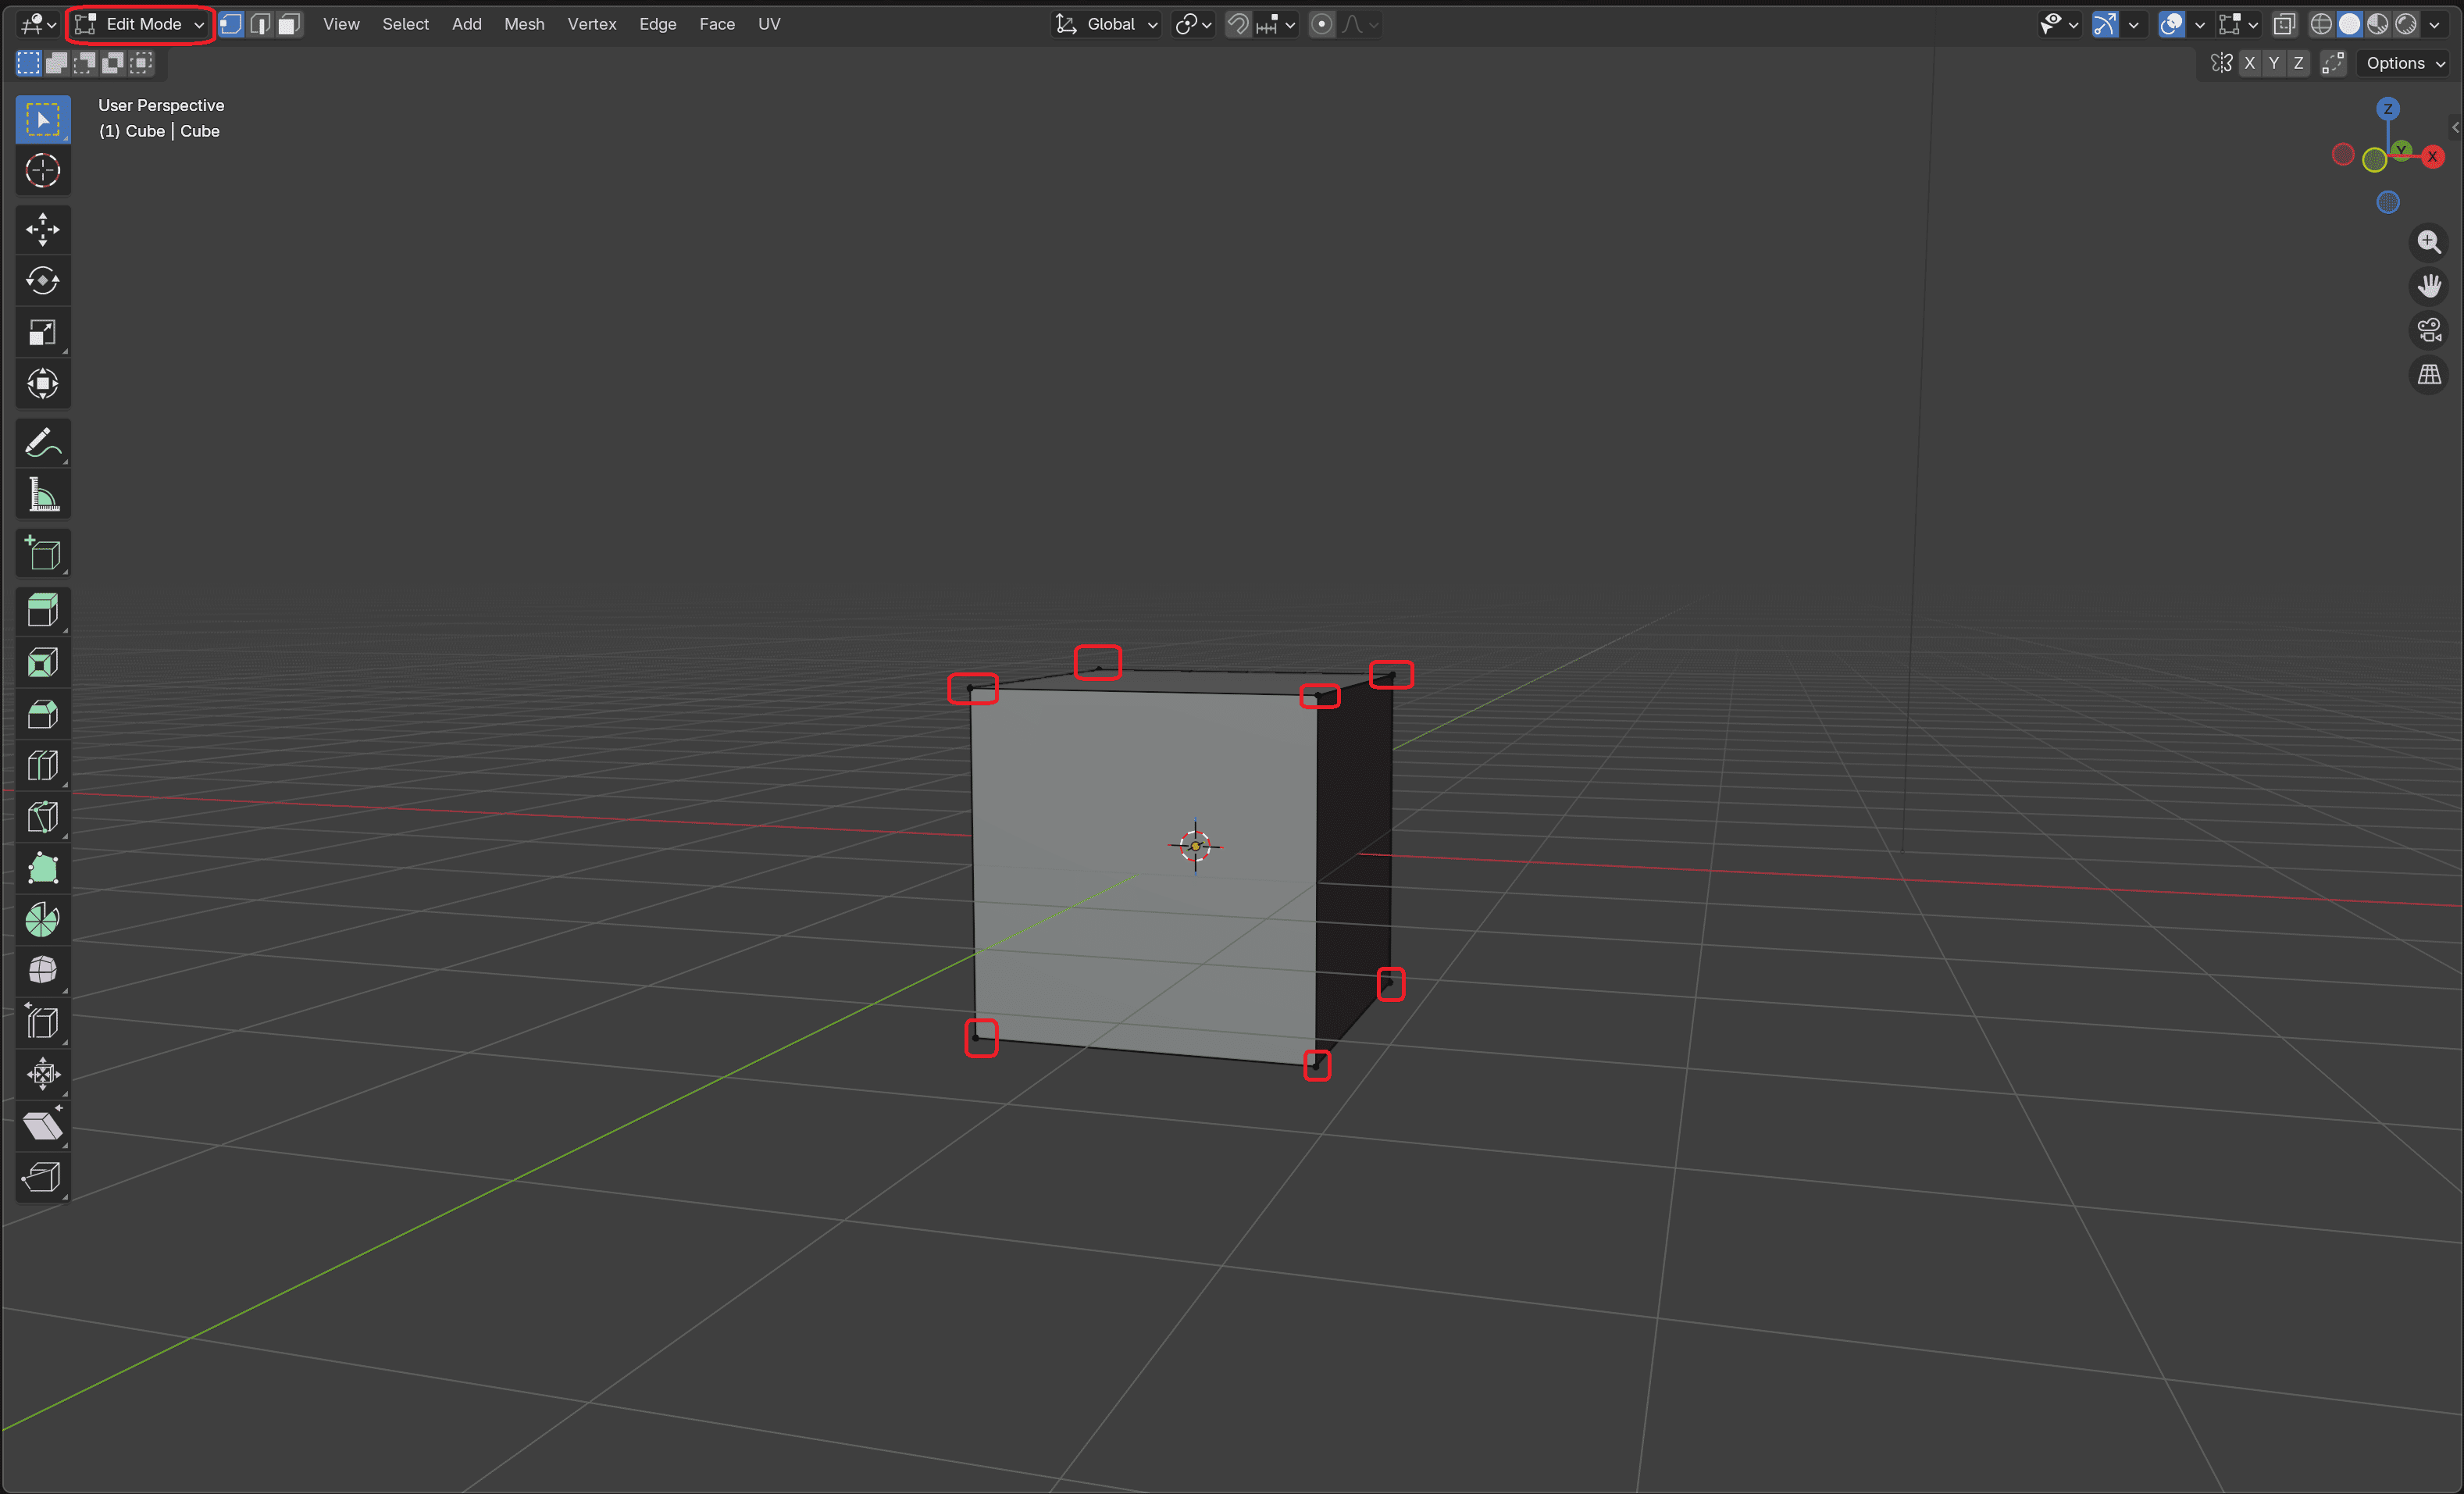 You should now see that Blender is in Edit Mode
Notice that each corner of the cube has a little sphere — this means you are in vertex editing mode.
Blender allows you to edit an object's geometry at 3 different levels of detail (a.k.a. Select Modes):
- Vertices (a.k.a. little spheres)
- Edges (a.k.a. sides)
- Faces (a.k.a. areas)
You can quickly switch between those levels using the hotkeys:
 Press to edit Vertices
 Press to edit Edges
 Press to edit Faces
You will also see the active Select Mode at the top left corner of the HUD.

Cut it!
Logically, you always need to cut along a particular edge, so switch to edges and select one of the vertical edges to prepare for the cut.
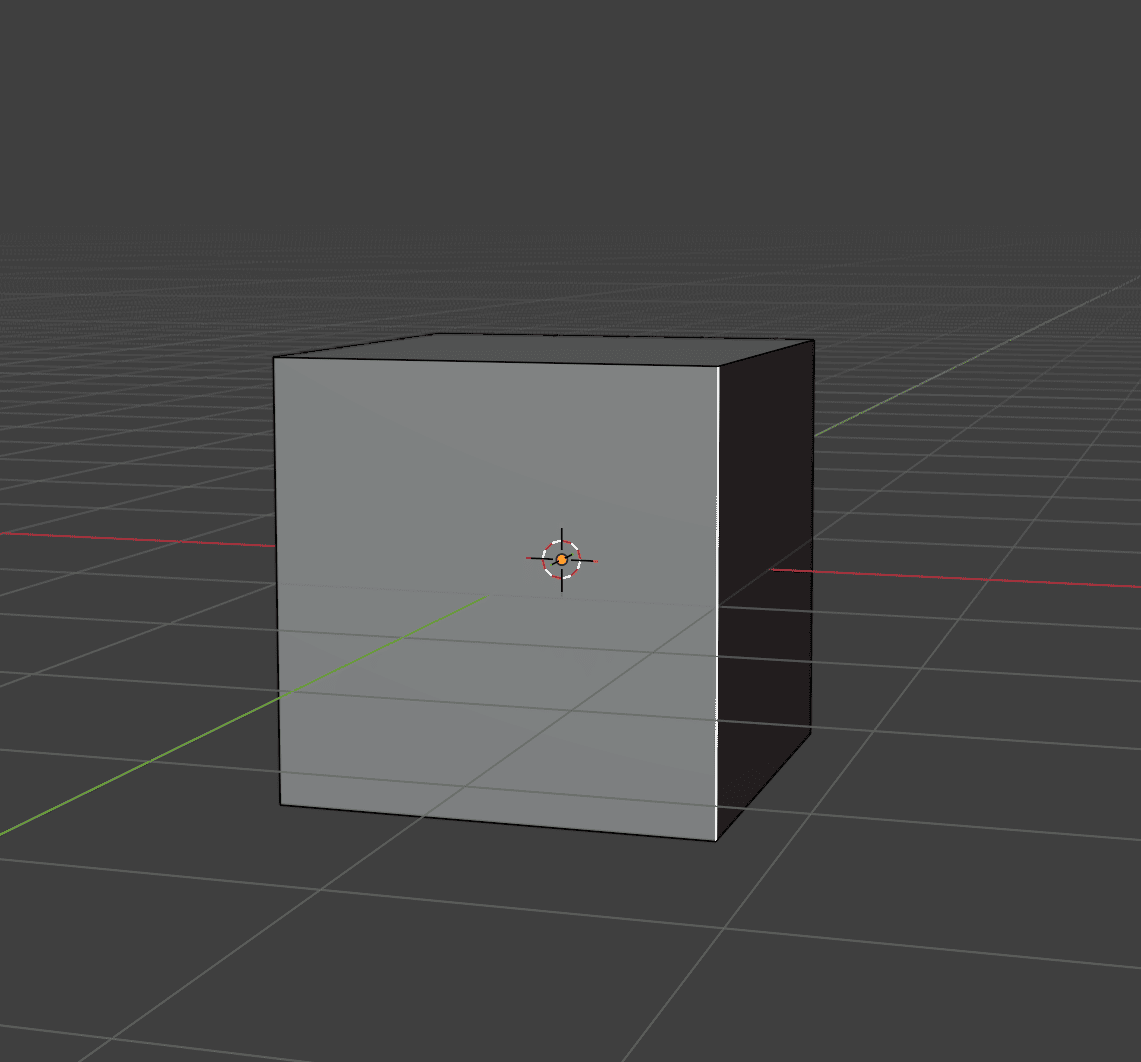 The selected edge should become highlighted
To cut exactly in the middle, you will need to perform the set of operations in a strict order:
 ++
++ Place the cut
 Cancel the grab operation for the new edge
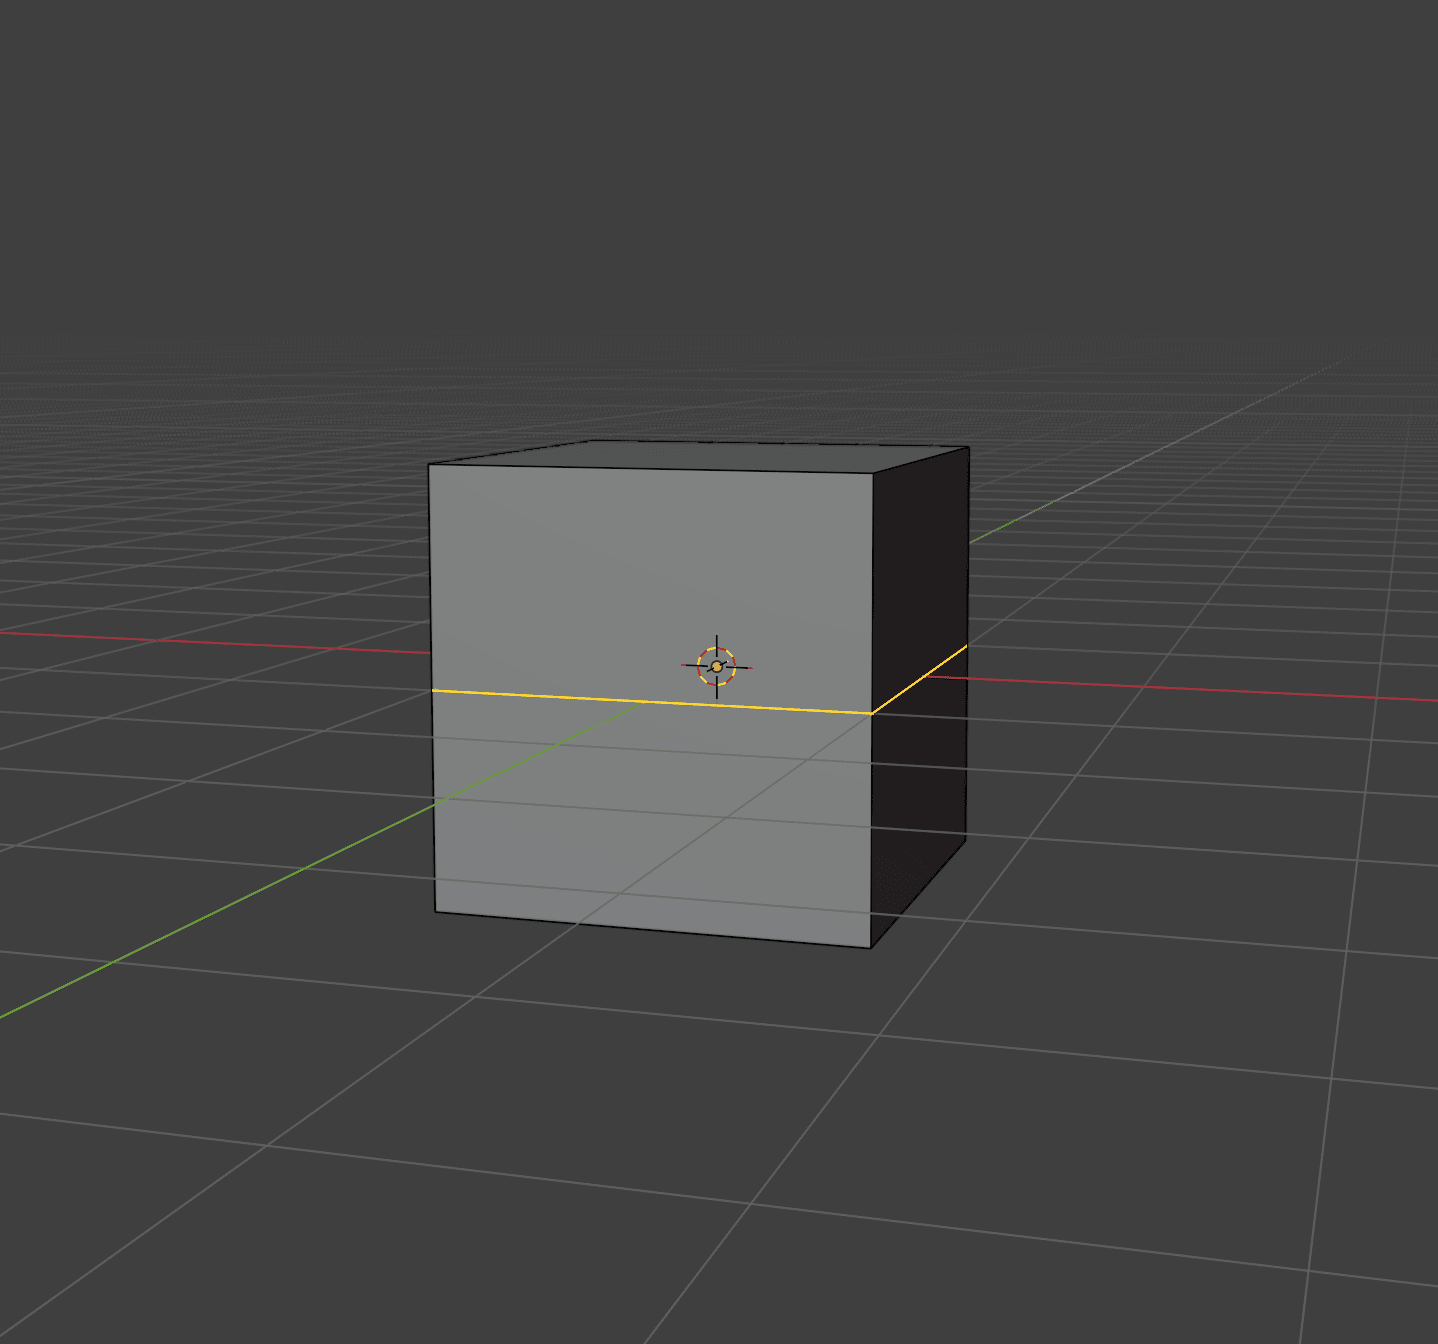 Now our cube has 3 horizontal areas, just like the egg reference
Transform it!
All the transformation functions you learnt in LVL 2 are applicable to any vertex, edge, or face while in Edit Mode.
Now we can implement the details for each section of the egg reference. Again, follow these steps in strict order.
Enter "Face" selection modeSelect the top face of the cube+ +
+ +Scale down the face+
 +
+ +Move up the face
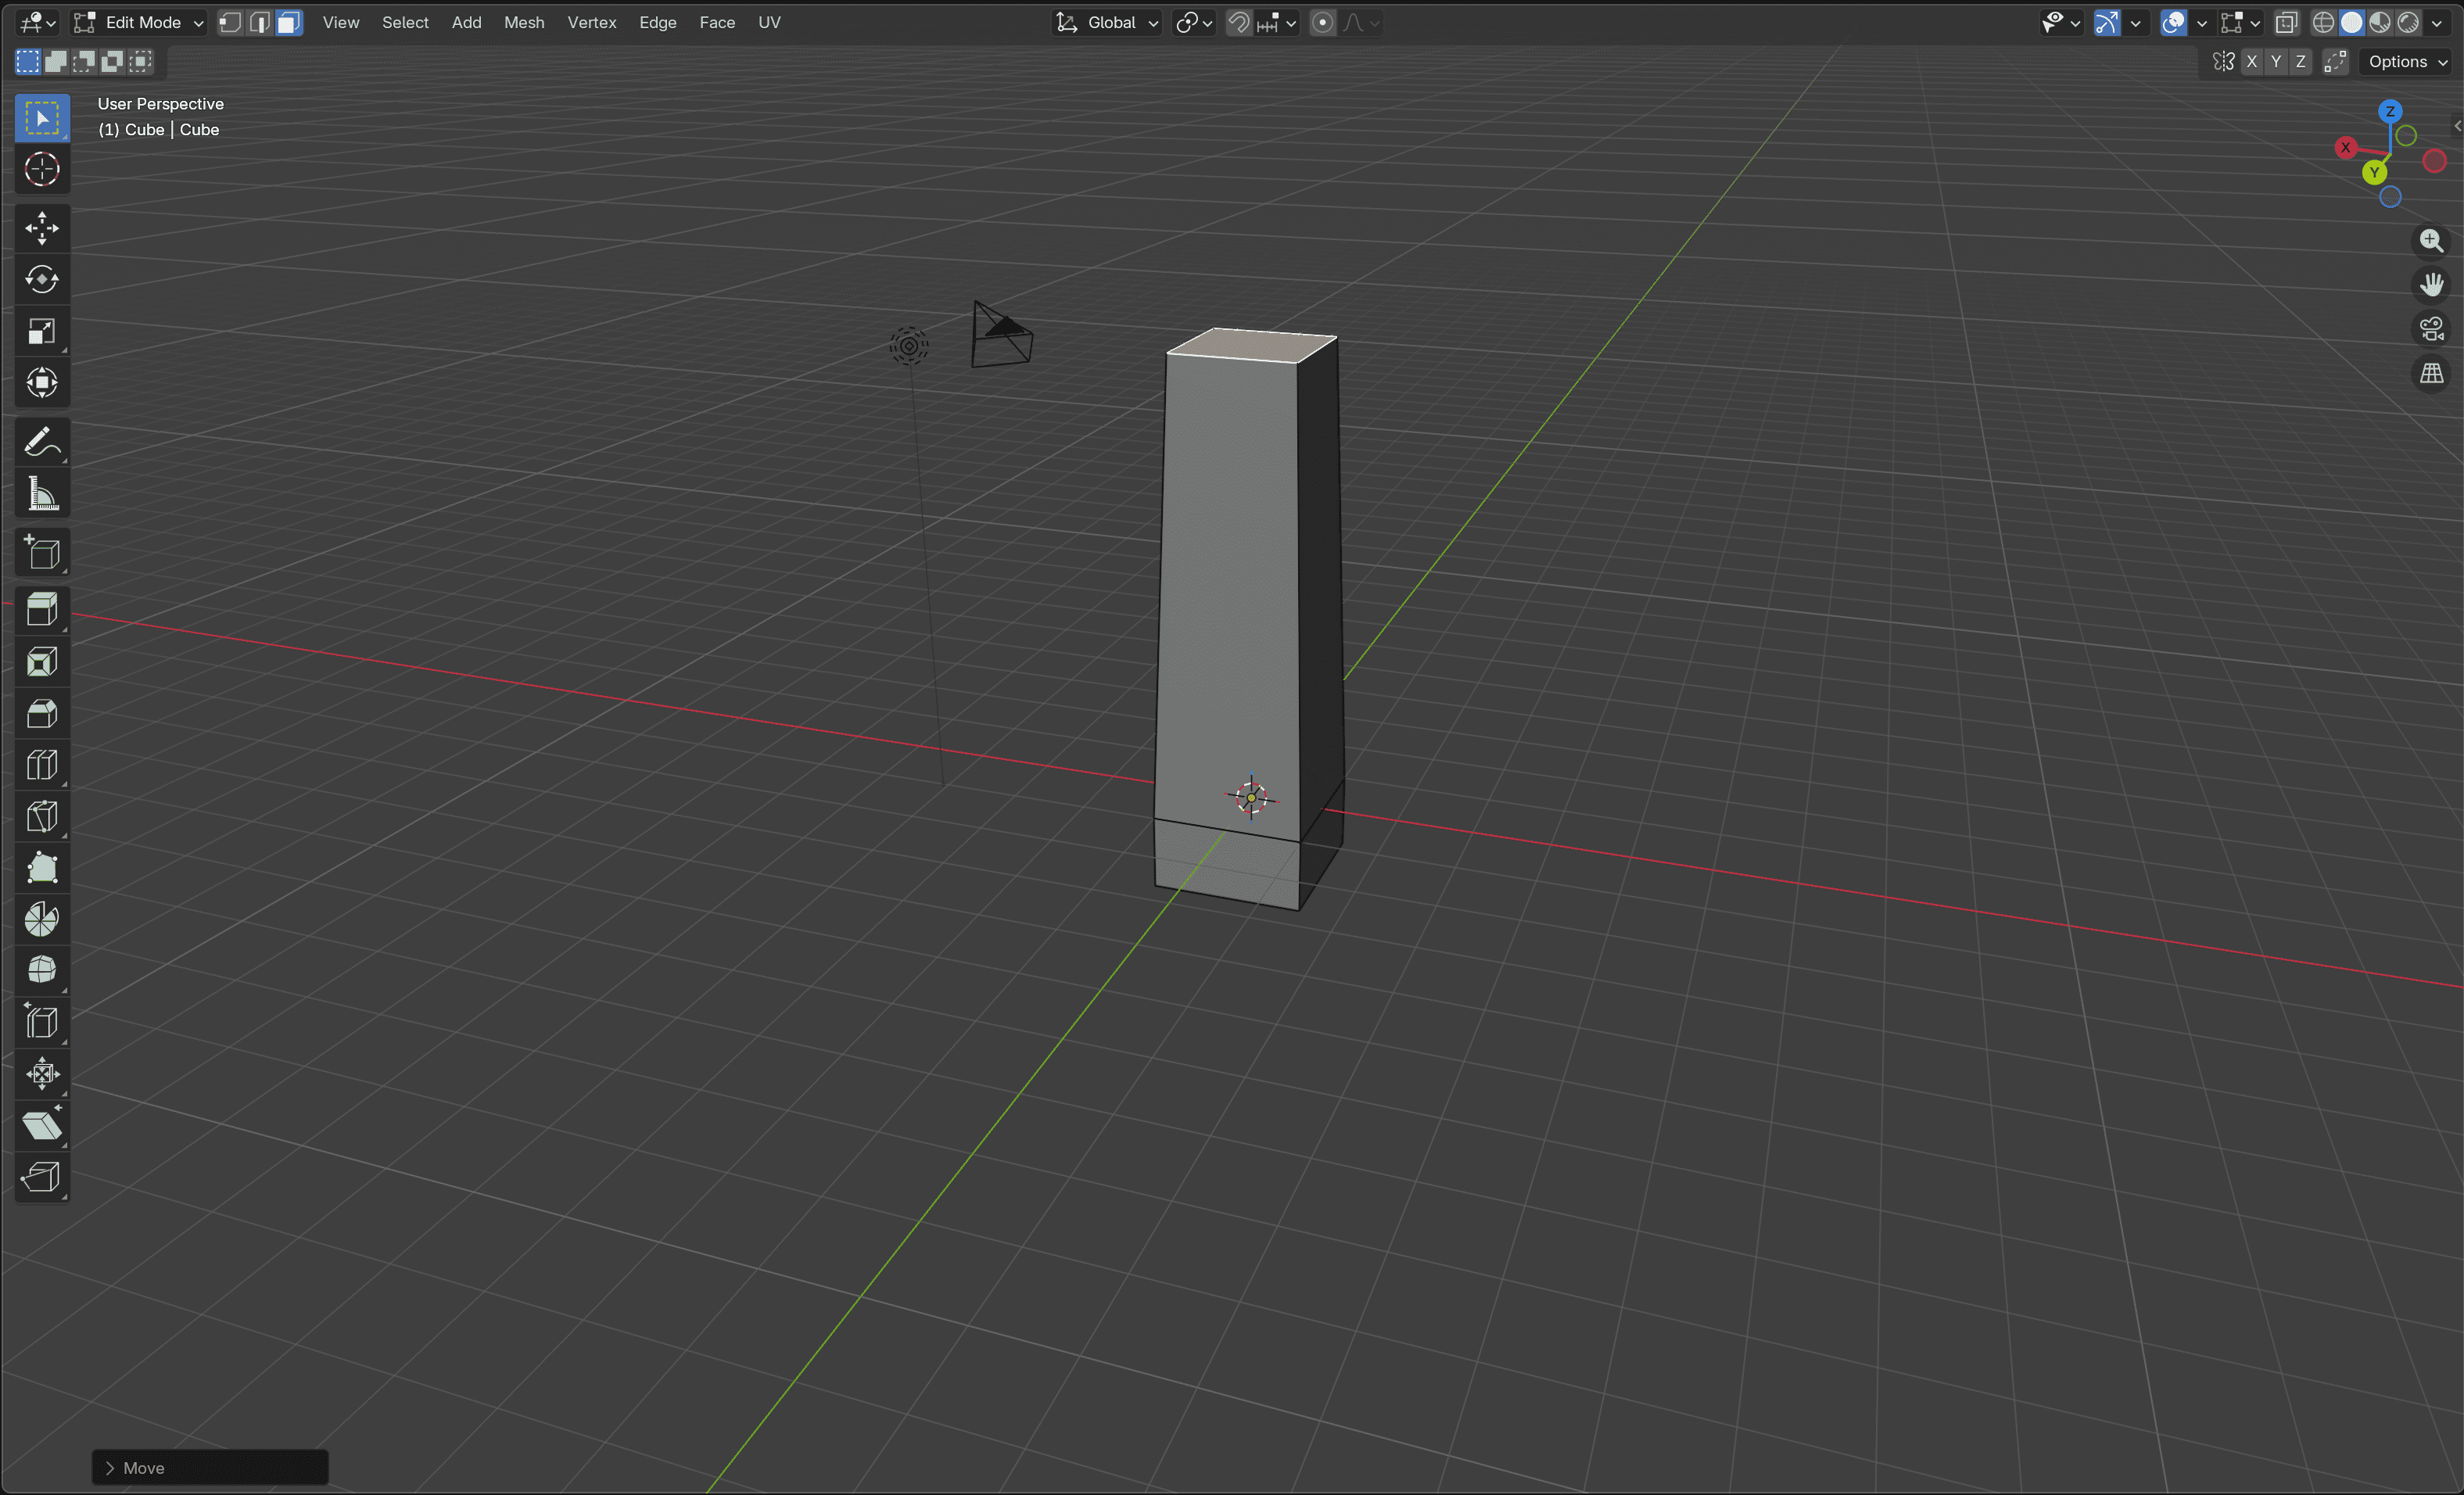 The top of the egg is now in the correct position and scaled according to the reference
Enter "Edge" selection mode+Select the edge loop in the middle+ +Scale up the edge loop
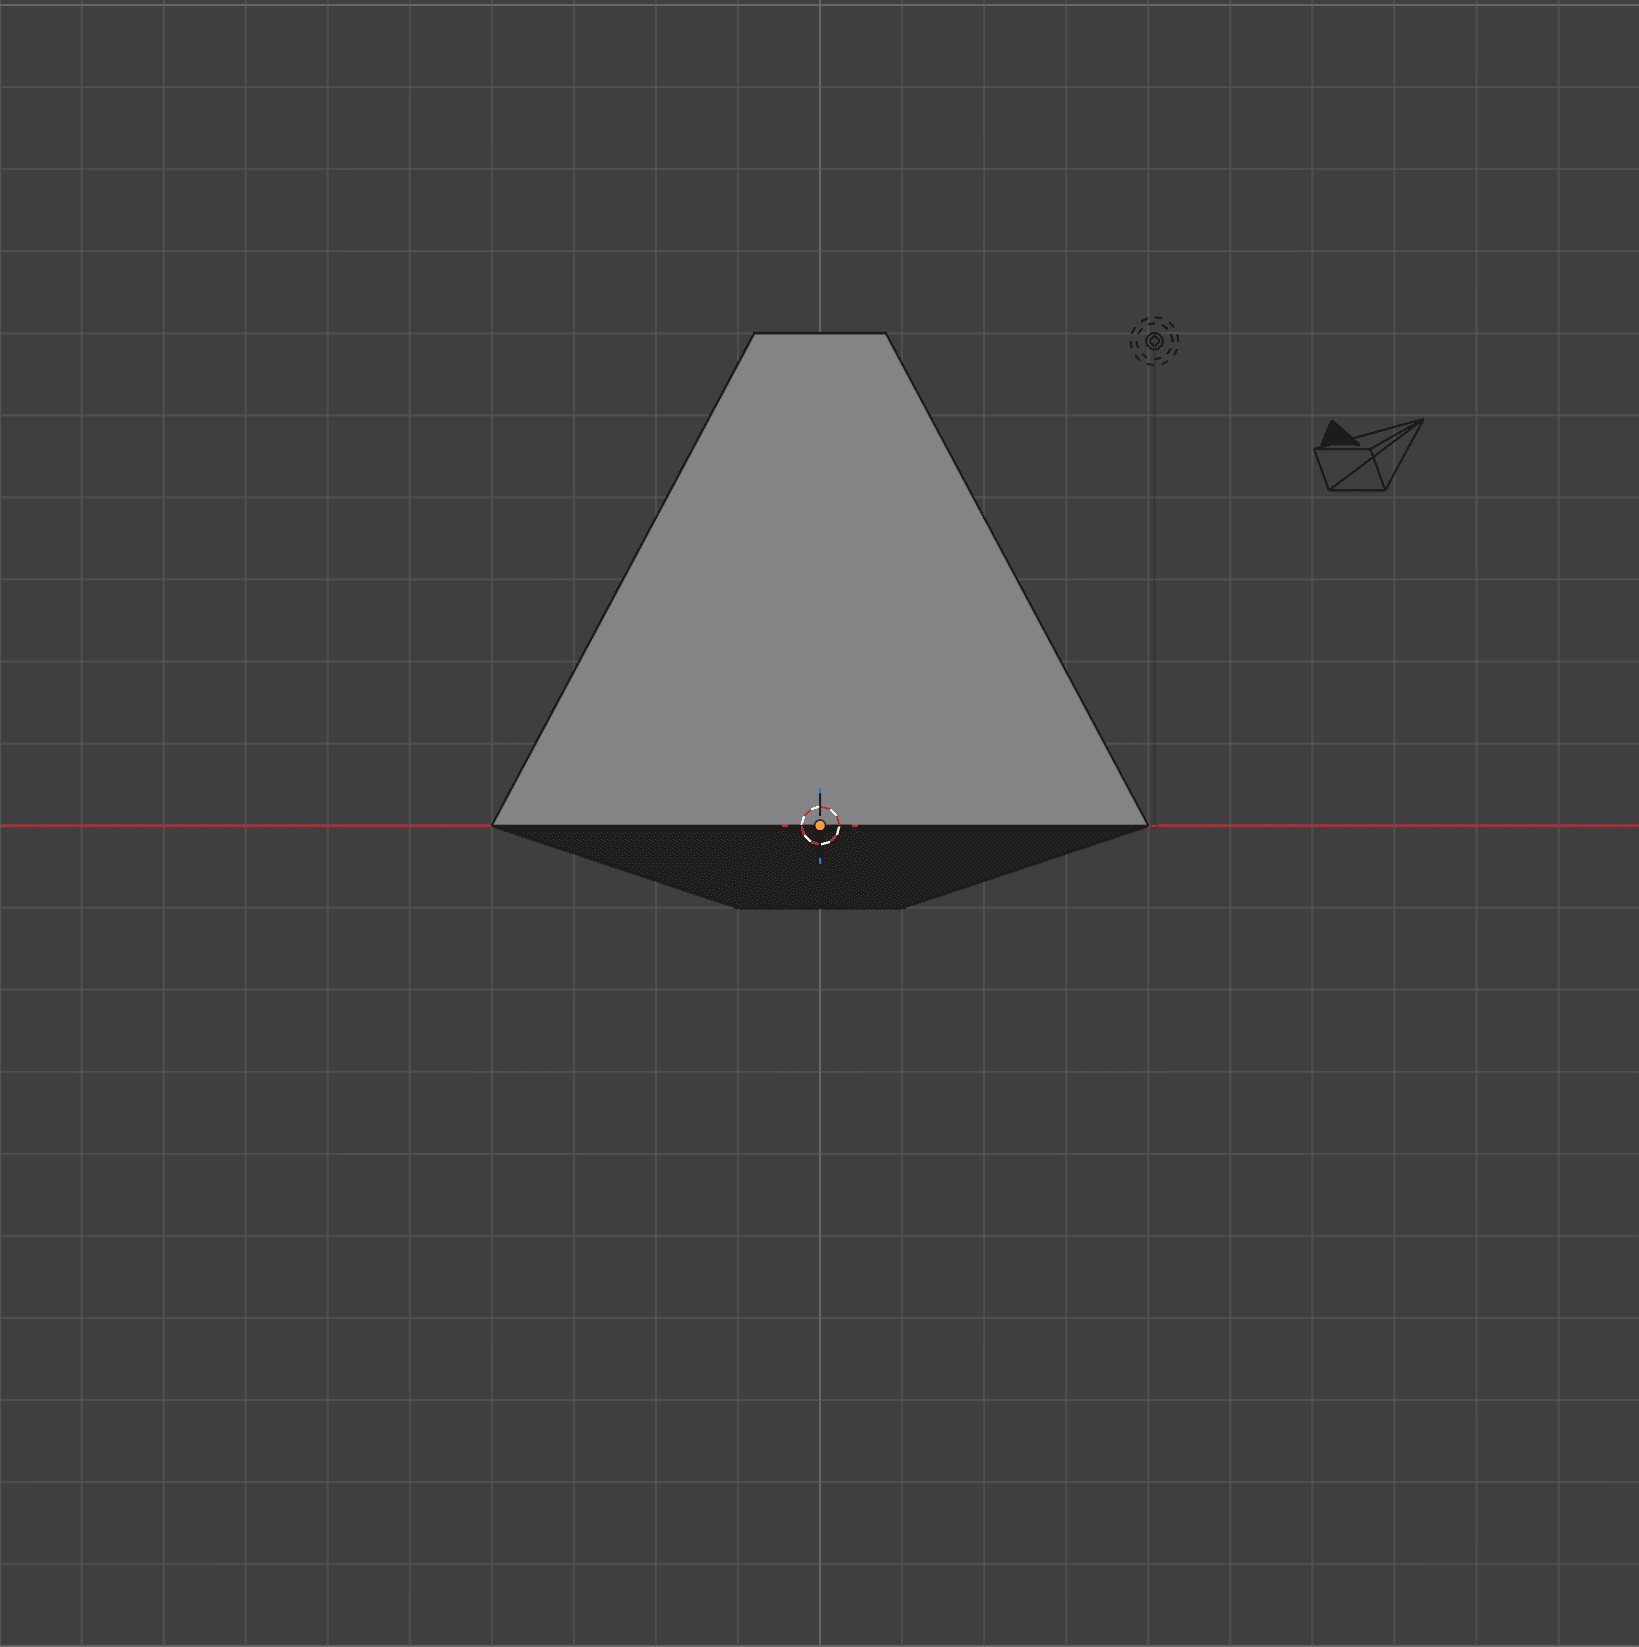 The middle of the egg is now scaled according to the reference
Enter "Face" selection modeSelect the bottom face of the cube++ +Move down the face
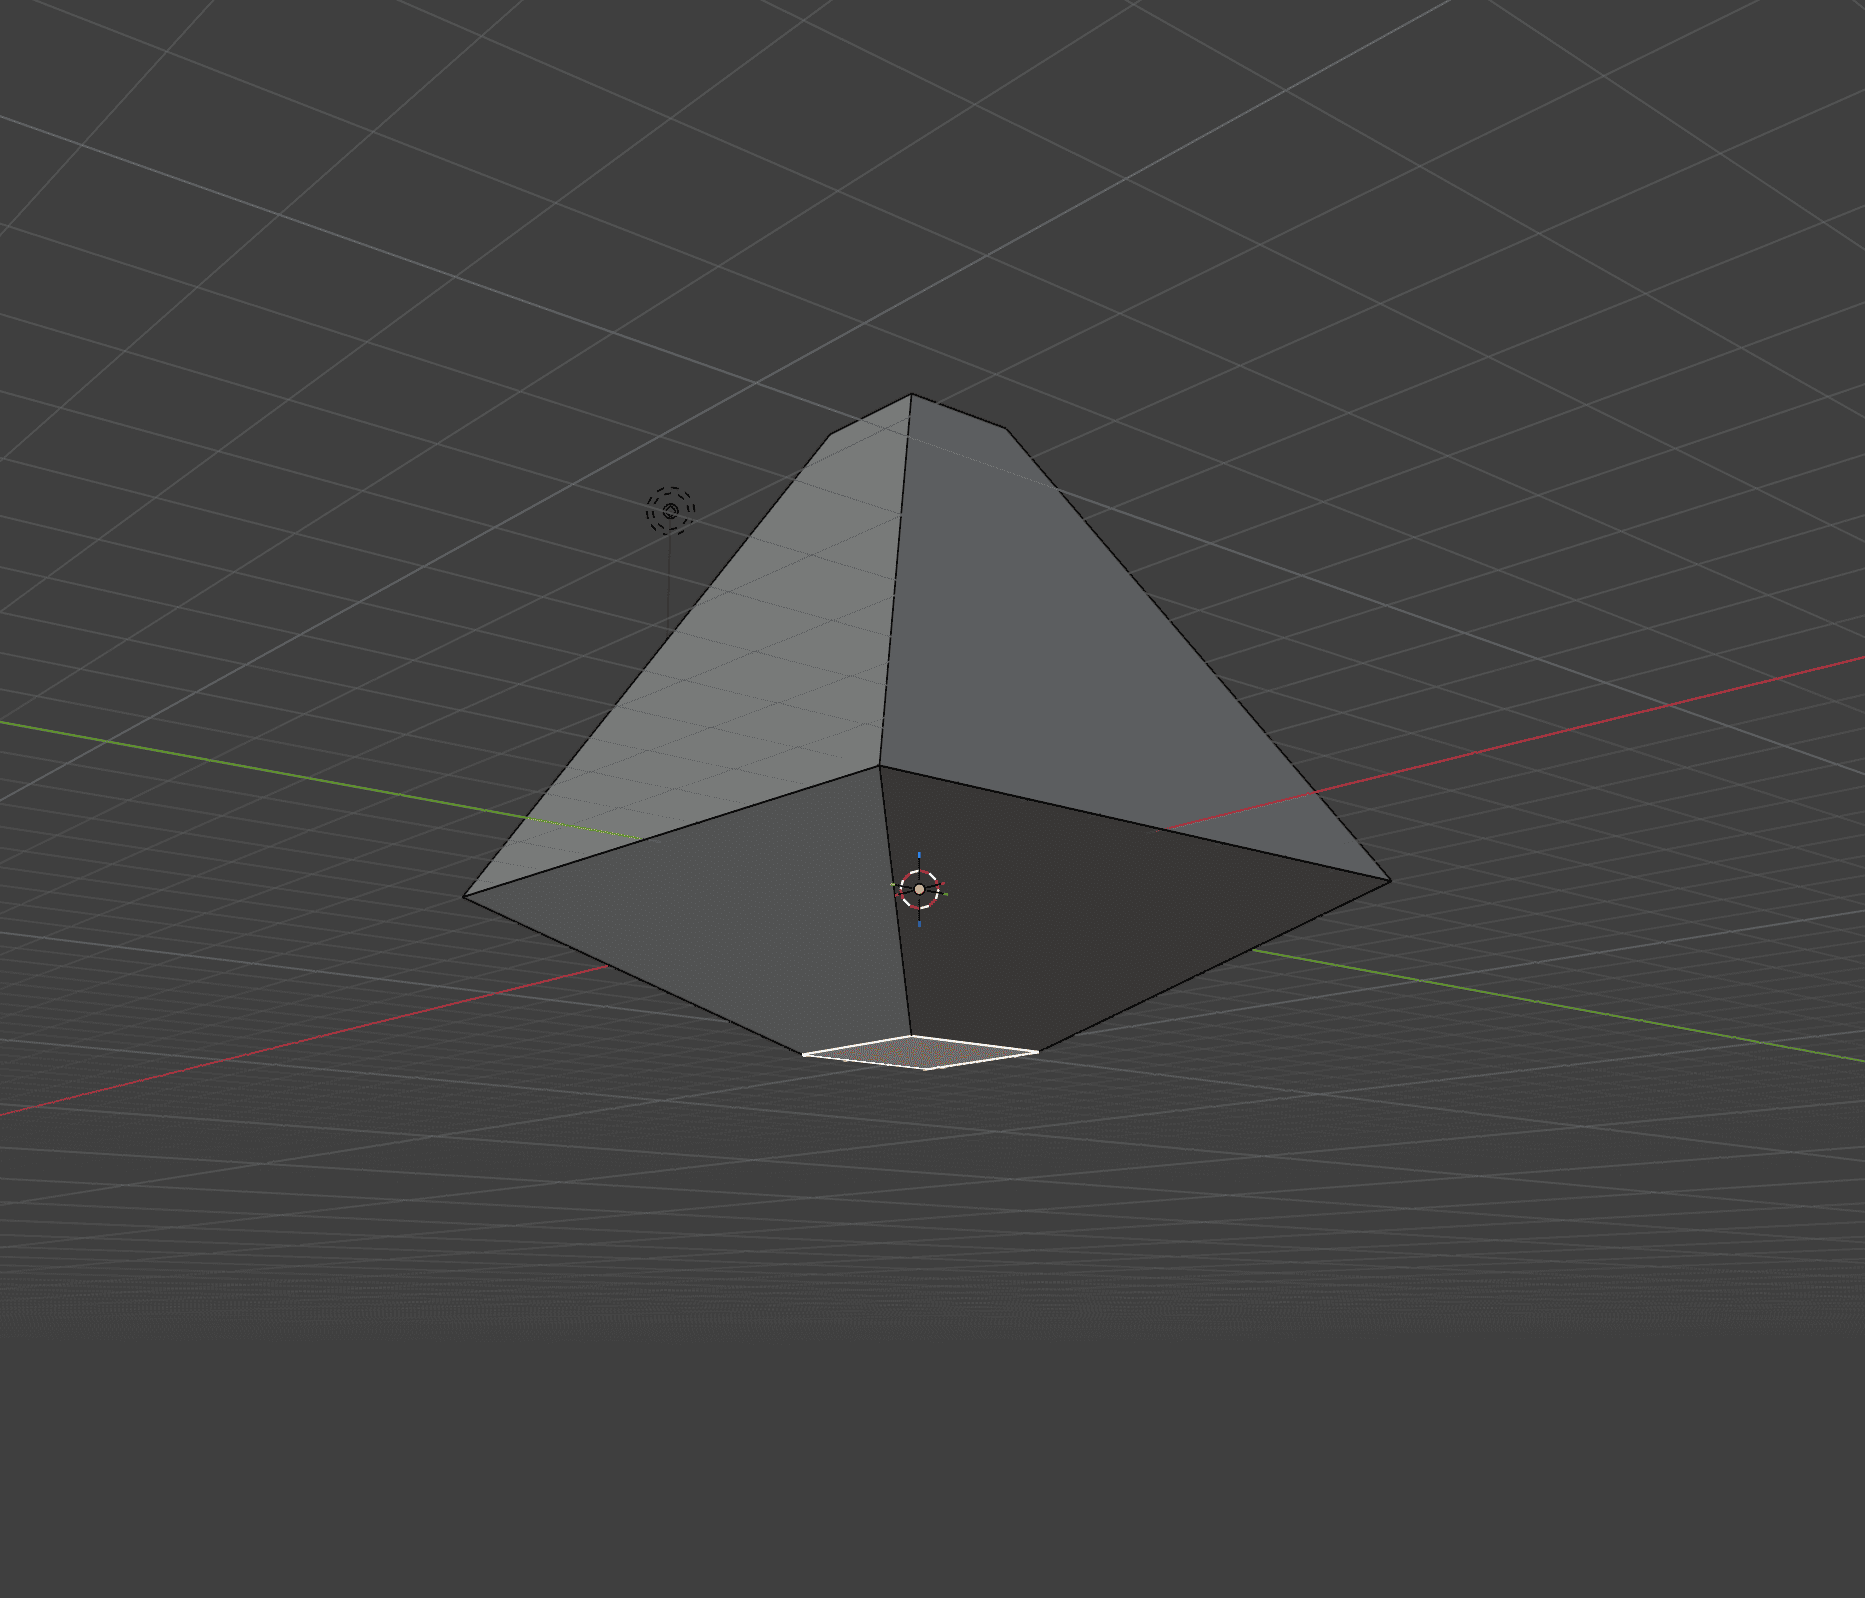 The bottom of the egg is now in the correct position according to the reference
Modify it!
The time has come for some Blender Magic. The app features many pre-built functions that allow you to modify your geometry in various mathematical and geometric ways.
For now, we just need to apply a single modifier called Subdivision Surface to turn our extremely low-poly egg into something rounder and more detailed.
Return to the "Object Mode"+Subdivide the cube into an egg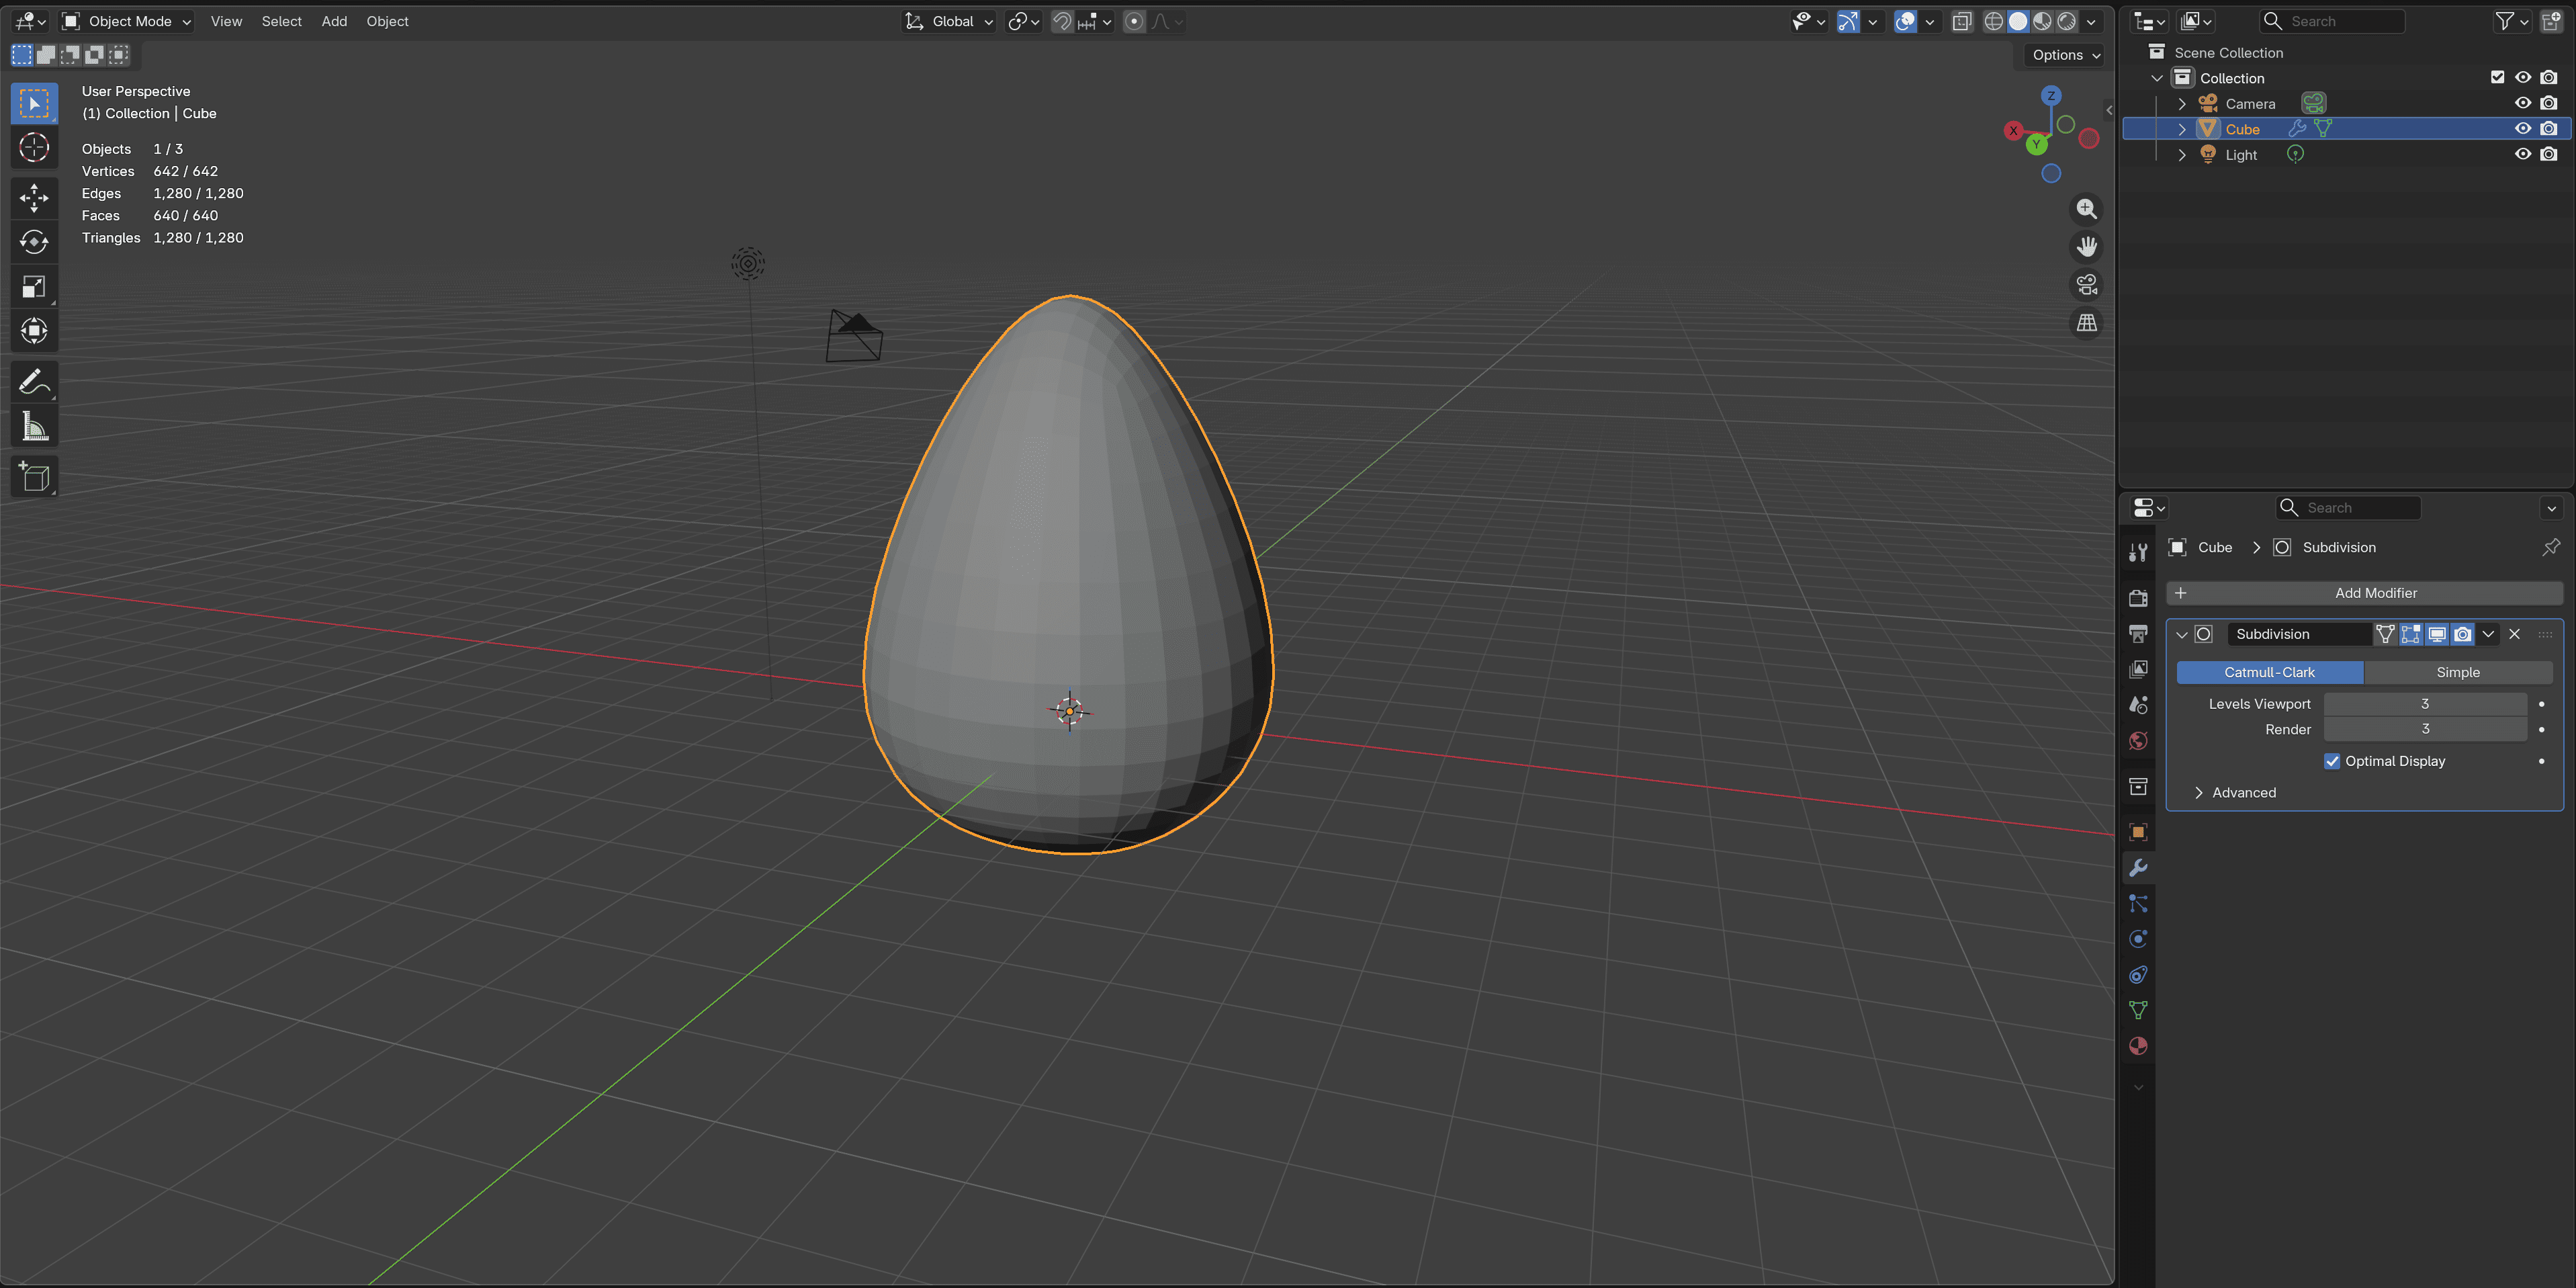 You've cooked the egg!
However, in real life, eggs are very smooth, so we need to apply one more combo before we're done.
Open menu of the eggClick on "Shade Smooth" option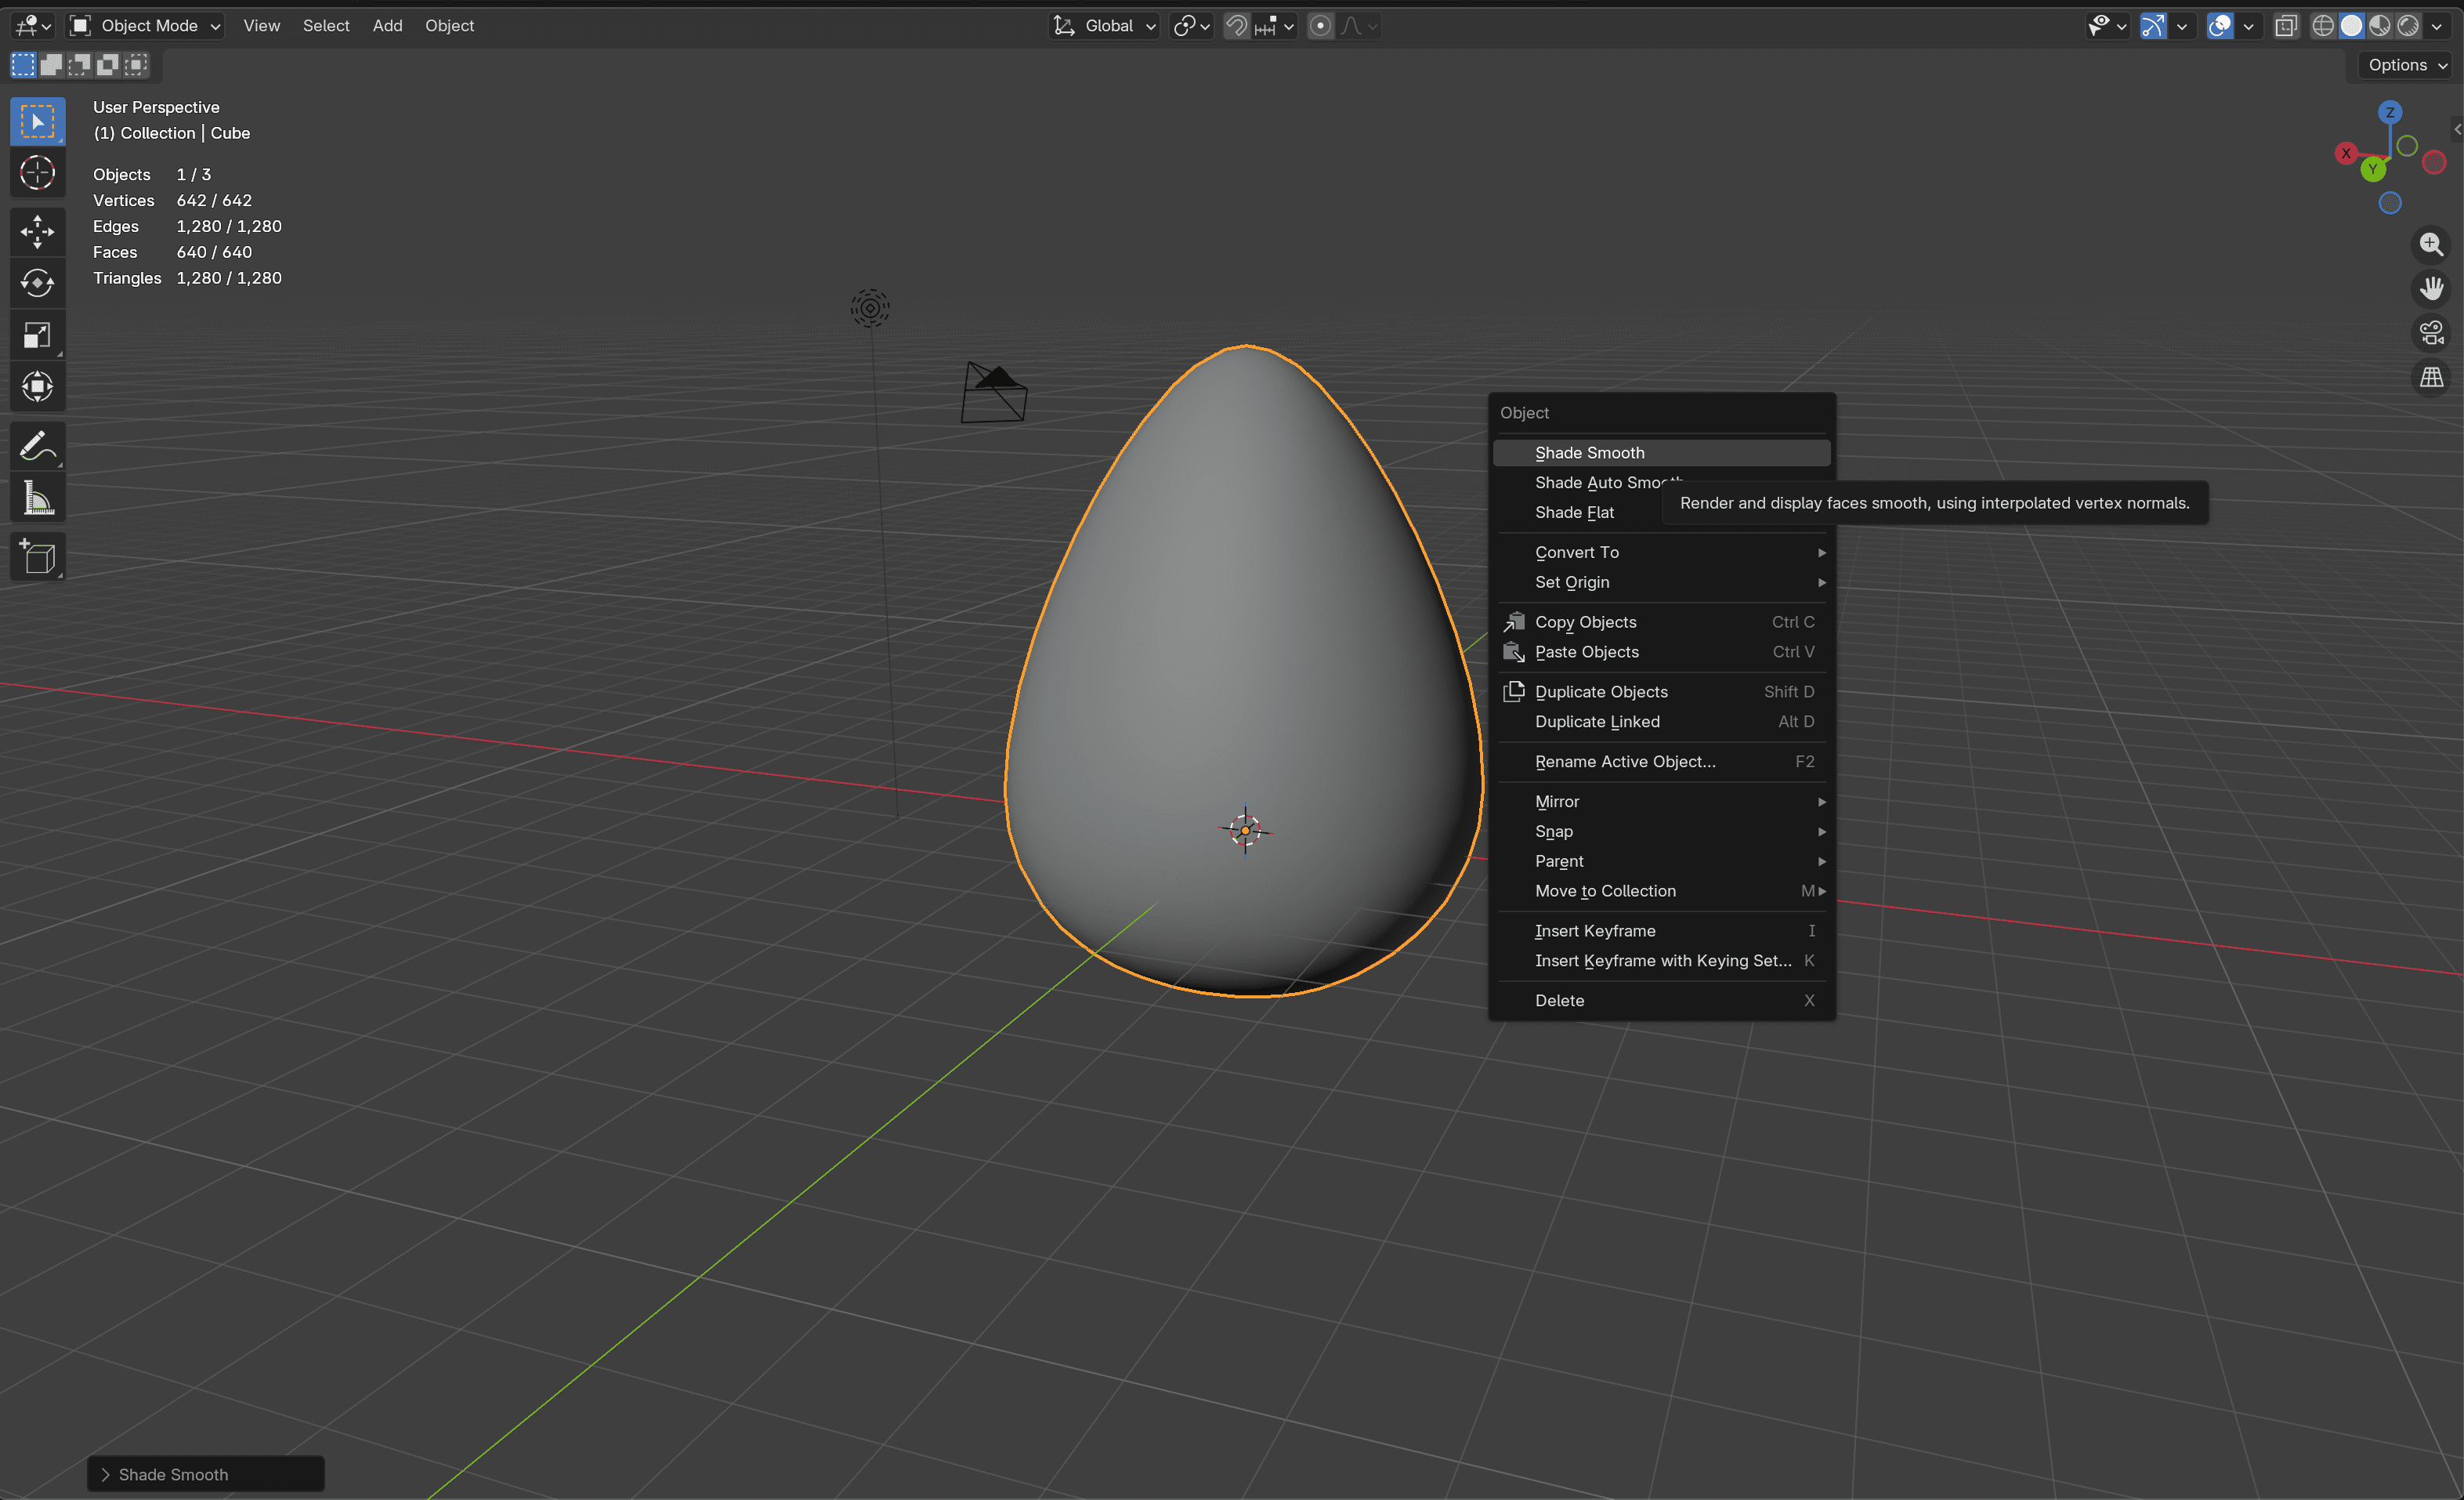 Now, it's truly a realistic egg
Save it!
Don't lose your progress. Save your work, either in the current project or as a new one.
+Save as the current project+ +Save as a new project