LVL 2
- Start a new project
- Navigate yourself
- Move, rotate, scale objects
- Work in multiple sessions
Start the 3D modeling
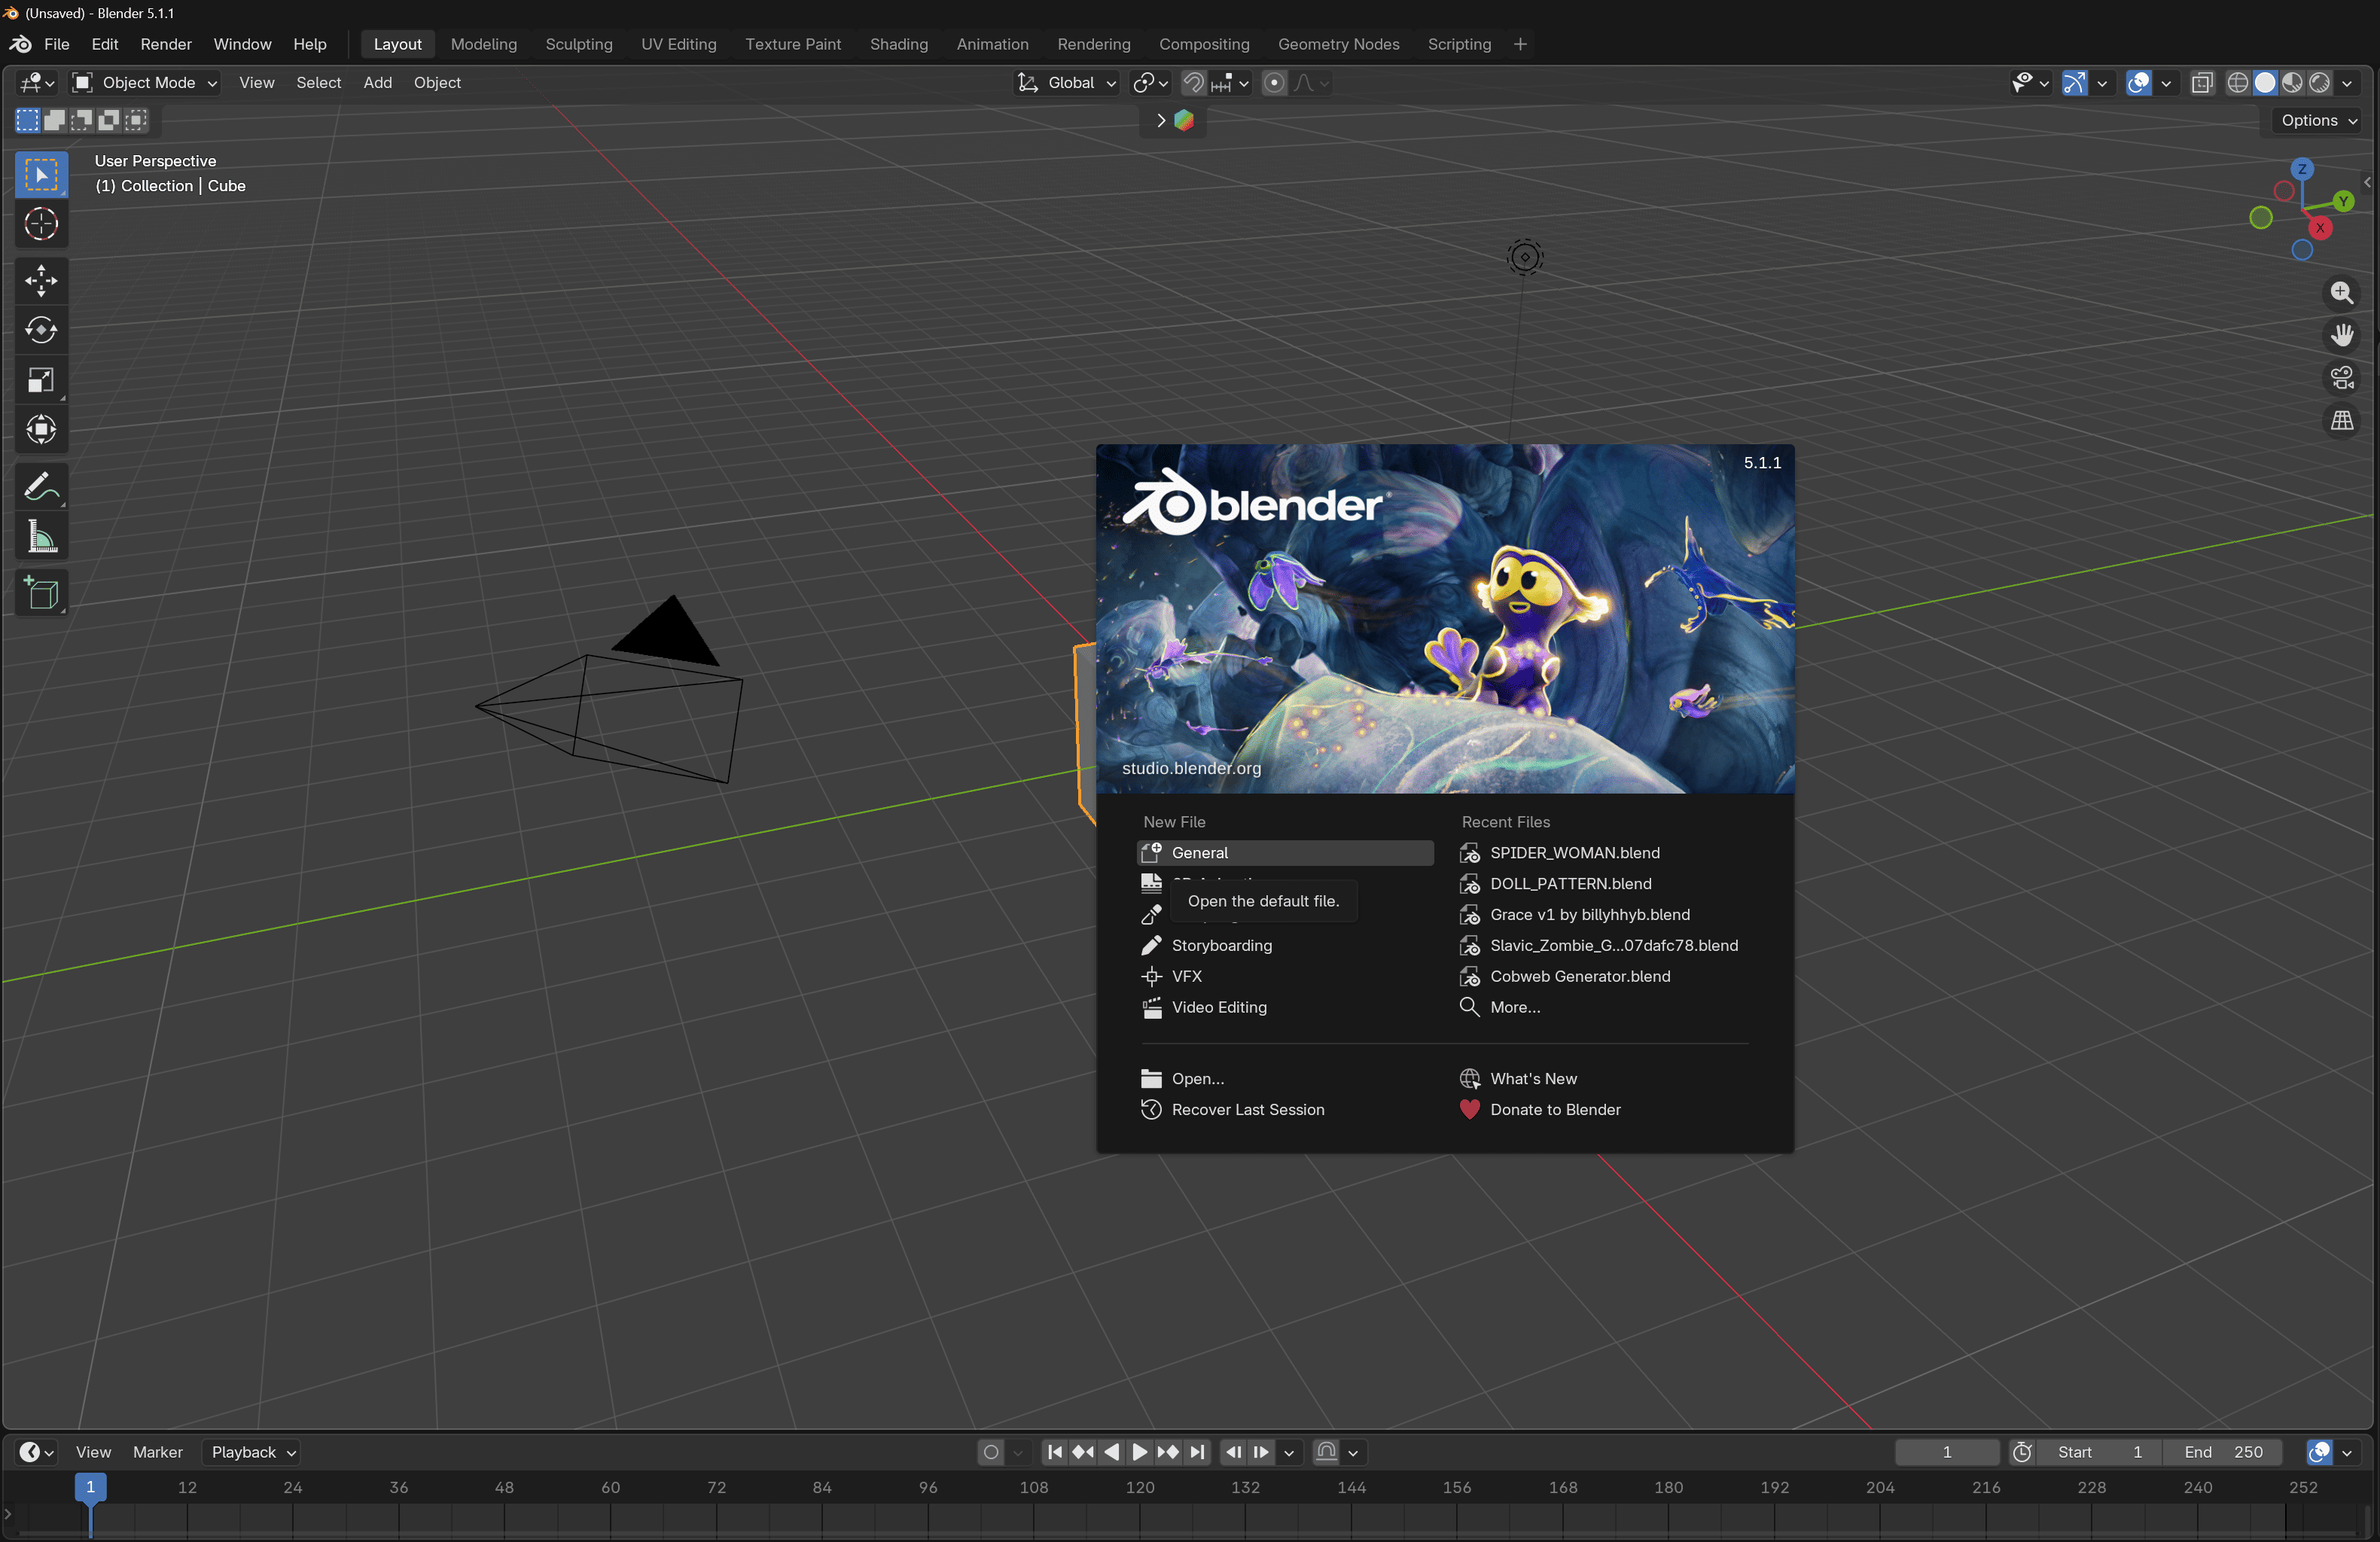
Coming from the previous lesson, you just need to click the General button or even click outside the pop-up to start modeling in Blender.
Navigation
Now you can see the default cube that Blender provides as a starting point in every new project. The question is: how do you view it from different angles and distances?
 Hold to rotate around
 Scroll to zoom in and out
 +Hold to move around
Transformation
Make sure the cube is selected and active. It should have an orange outline in the viewport.
To make it active, click on it in the viewport or select it in the Outliner.

Grab
 Press and grab in any direction+
 Press and grab left/right+
 Press and grab forward/backward+
 Press and grab up/down
Rotate
 Press and rotate in any direction+Press and rotate along X+Press and rotate along Y+Press and rotate along Z
Scale
 Press and scale uniformly+Press and scale along X+Press and scale along Y+Press and scale along Z
Gizmo
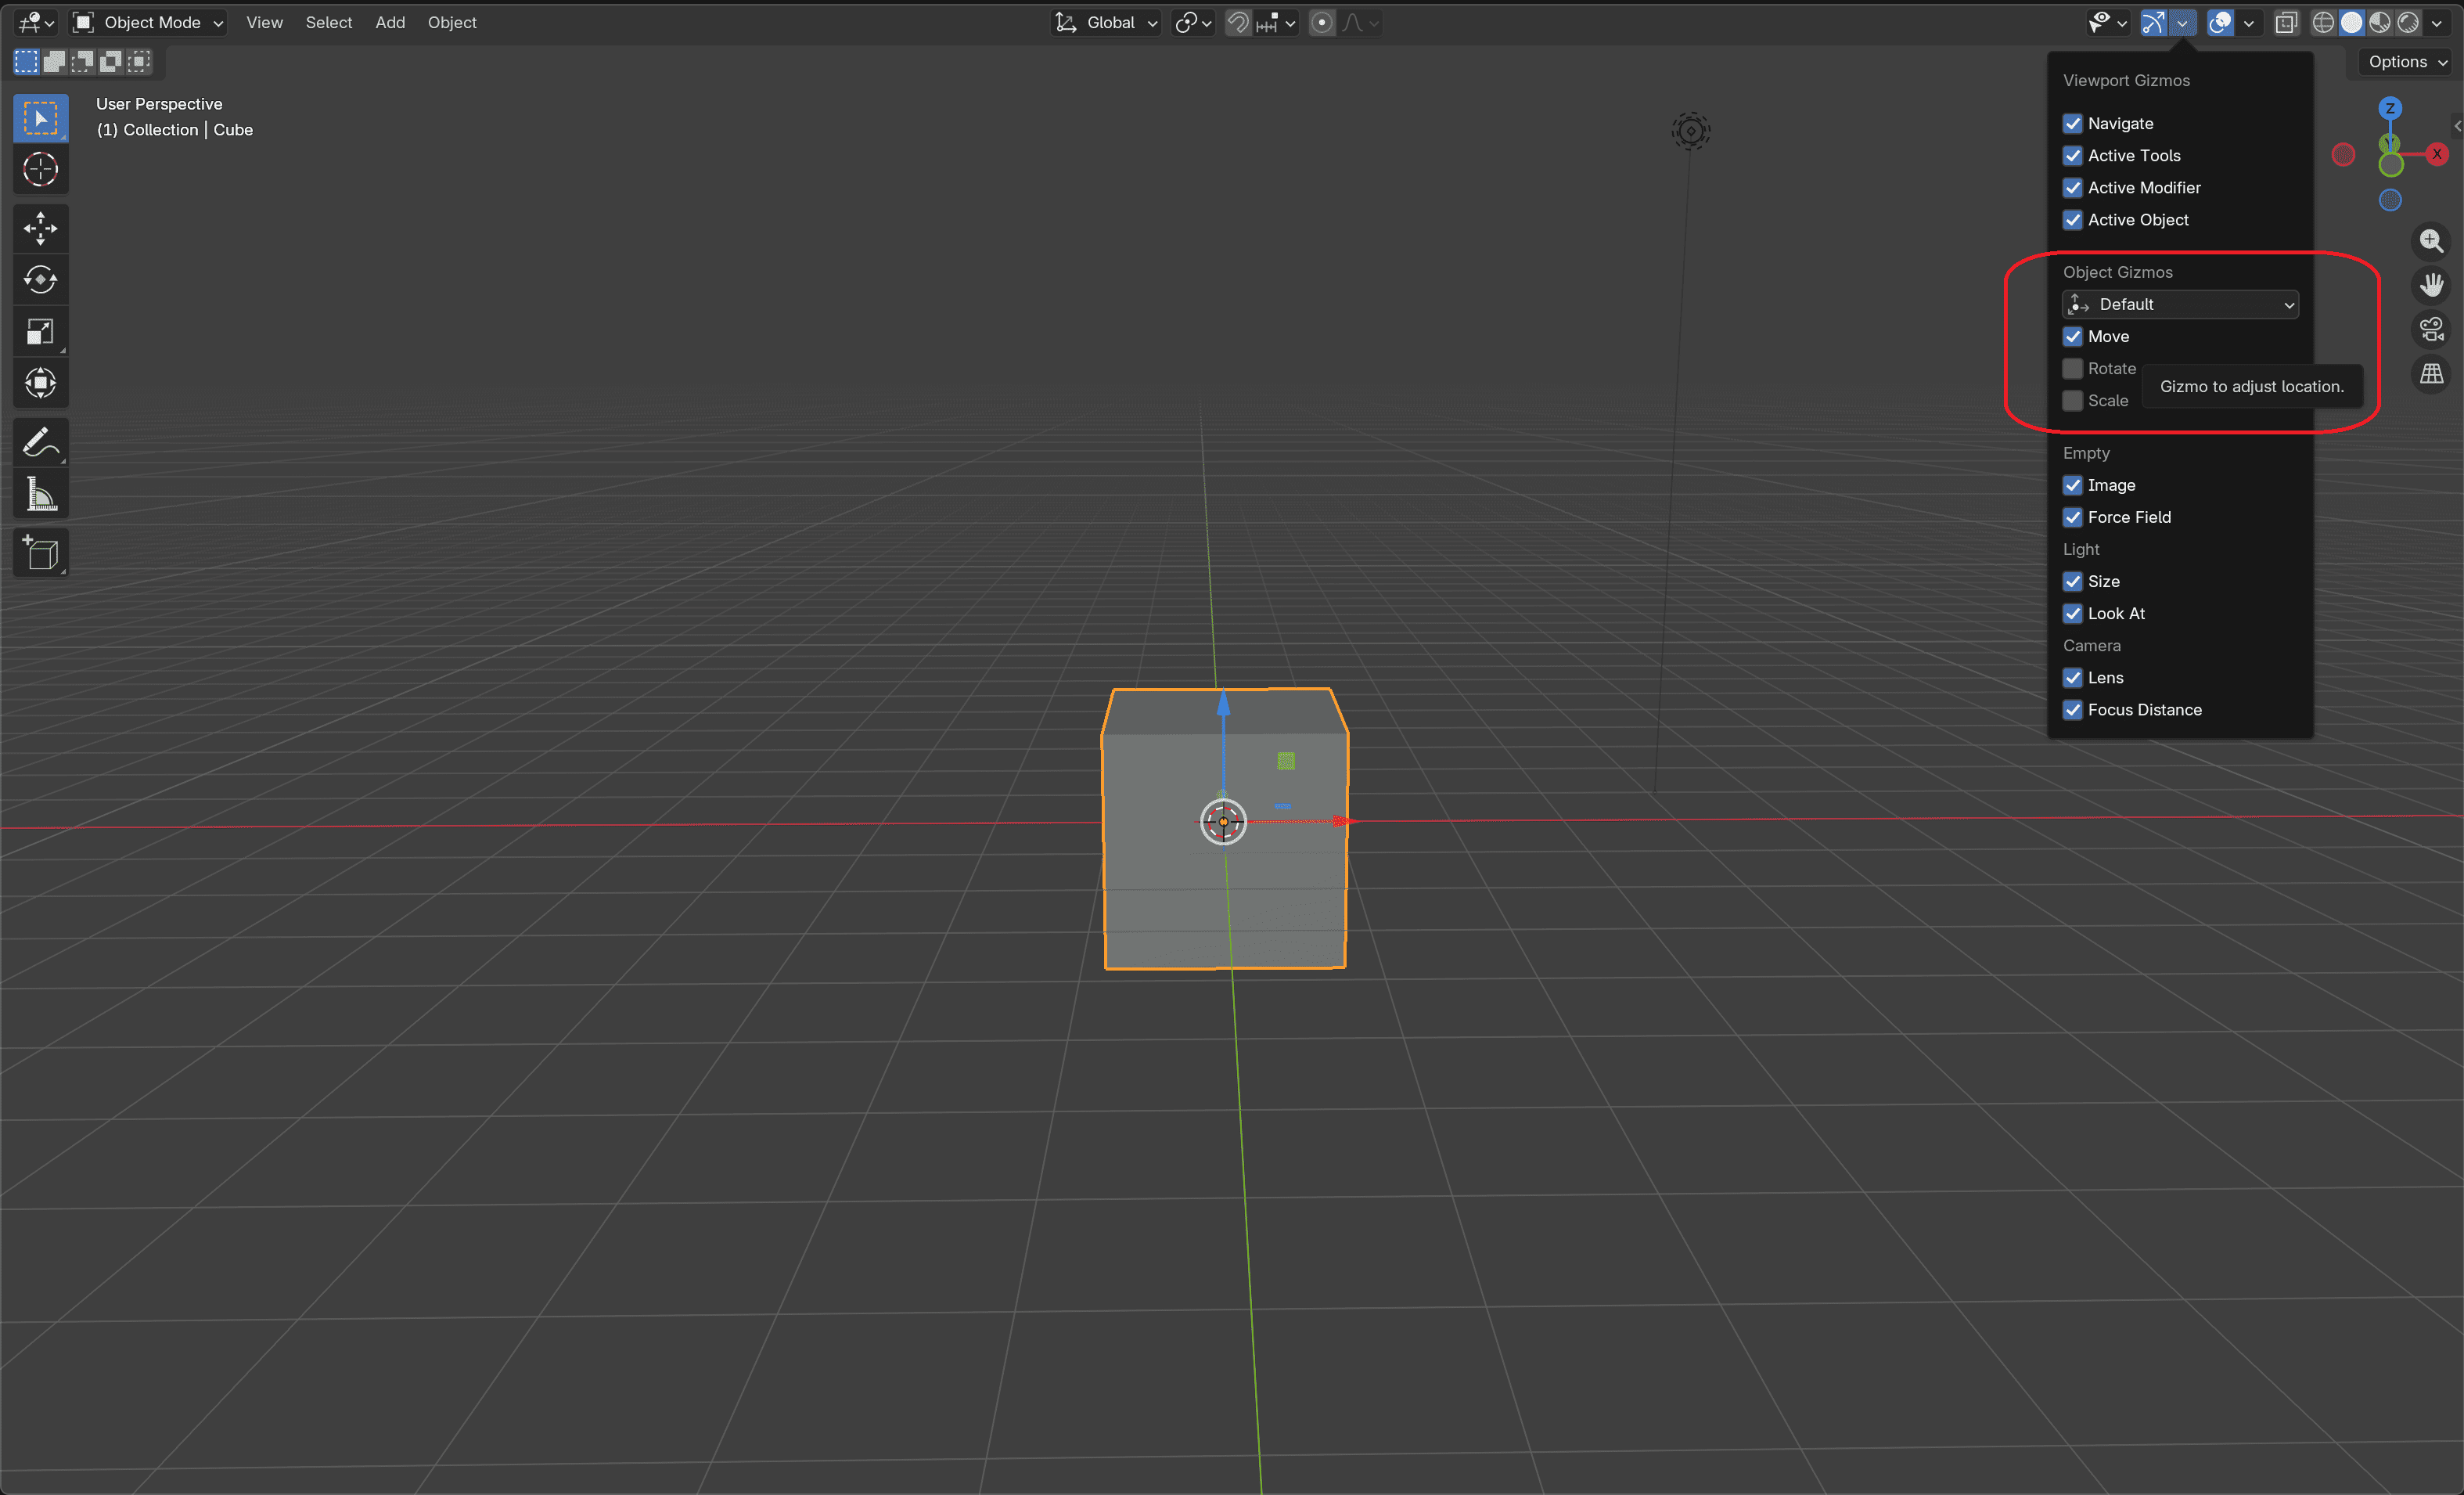
You can turn gizmos on or off for all transform tools, which will feel much more familiar for users coming from game engines. However, it is strongly recommended to use hotkeys instead — they are faster and more convenient once you get used to them.
Sessions
To work on your model across multiple sessions, save and reopen the same .blend file until it's finished.
 +Press to save your project+
 Press to open your project